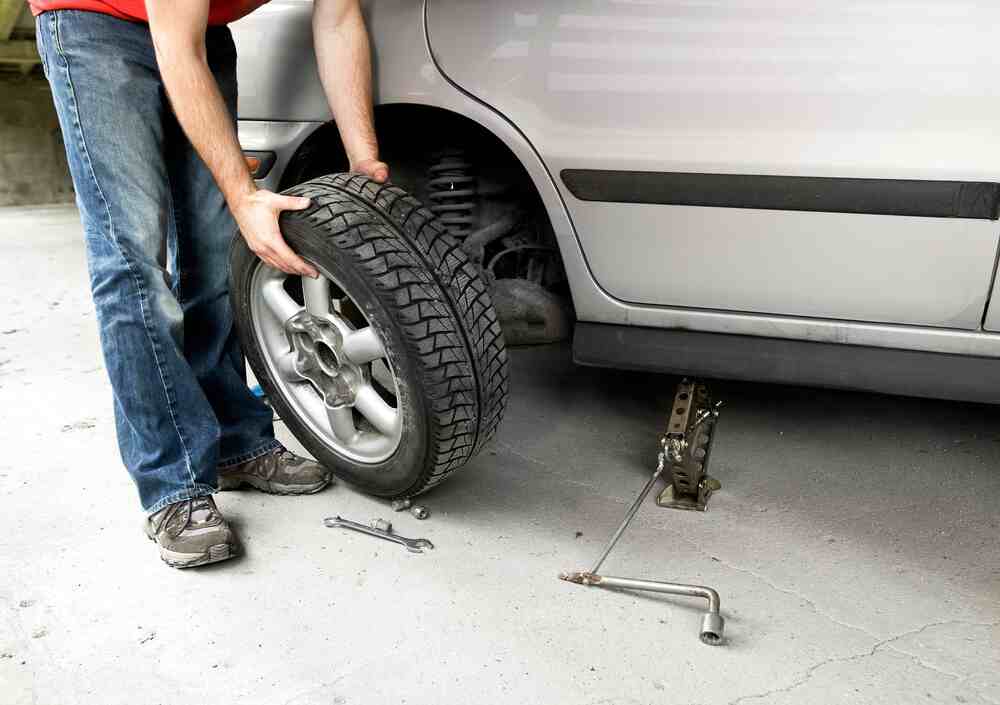
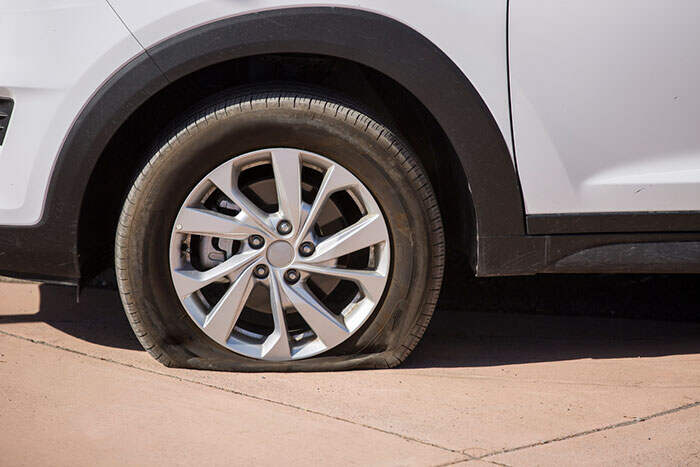
Got a flat tyre? You’re not alone, it happens to the best of us. But knowing how to change a tyre can save you time and money, and get you back on the road in no time. In this guide, we’ll walk you through the steps to change a flat tyre safely. Whether you’re on the side of the road or in your driveway, having the right knowledge and tools can make all the difference. So, if you find yourself with a flat tyre, it’s not too complicated to fit a spare one. With a little know-how and some elbow grease, you’ll be back on your way before you know it.
15 easy steps for swapping your flat tyre for a spare one
Before we dive into the process, it’s important to make sure that you have all the necessary tools on hand. The most critical tool is, of course, a spare tyre that is fully inflated and ready to use. Side note: if you don’t a spare tyre, give us a visit in Molendinar, we can sort it out for you. Additionally, you’ll need a jack to lift the vehicle, allowing you to remove the flat tyre and install the spare. Don’t forget to have a lug wrench handy, as this will be major for loosening and tightening the lug nuts that secure the wheels in place. With these tools, you’ll be well-prepared to replace your flat tyre with ease and confidence.

How to change a tyre
Step 1: Move your car to a safe place
When you notice a flat tyre, the first thing to do is carefully drive your car off the road to a safe spot. Look for a flat area away from traffic where you can park. Make sure it’s a stable spot where your car won’t roll.
Step 2: Turn on your hazard lights
Turn on your hazard lights to let other drivers know you’re stopped. This step is important for your safety and the safety of others on the road. Once you’re safely parked, you can start getting ready to change the tyre.
Step 3: Secure your car with wheel wedges
After finding a safe spot to park, prevent your car from rolling by placing wheel wedges. These are small blocks or triangles that you put in front of and behind the tyres on the opposite side of the flat tyre. If you don’t have wheel wedges, you can use rocks or pieces of wood. Make sure they’re sturdy enough to keep your car from moving. This step is important to guarantee your safety while you’re changing the tyre. Once the wheel wedges are in place, you can proceed with the tyre replacement process.
Step 4: Gather your equipment
Before you start changing your flat tyre, make sure you have all the necessary tools handy. You’ll need a spare tyre (make sure it’s properly inflated), a jack, and a lug wrench. These tools are key for removing the flat tyre and replacing it with the spare. Keep them within easy reach, preferably in the boot of your car or a designated storage compartment. It’s important to have everything ready before you begin so that you can complete the tyre change safely. Once you’ve gathered your equipment, you’re ready to move on to the next step in the process.
Step 5: Take off the wheel cover from a flat tyre
Before you can get to the lug nuts, you have to remove the wheel cover. Use a tool like a flathead screwdriver or pry tool to gently take off the cover. If there are any clips or screws holding it, remove them carefully. Once the cover is off, you’ll see the lug nuts underneath. This step is important so you can access the parts needed to change the tyre. Keep the wheel cover safe nearby so it doesn’t get lost or damaged.
Step 6: Loosen the lug nuts
Using the lug wrench, turn each lug nut counterclockwise to loosen them. You don’t need to remove them completely, just loosen them enough that you can easily remove them by hand once the car is lifted. It may require some force, especially if they’re on tight. If you have trouble loosening them, try placing the wrench on the nut and standing on it to add more leverage. Be careful not to strip the nuts or damage the threads. Loosening the lug nuts before lifting the car makes it easier to remove the tyre once the car is off the ground.
Step 7: Raise the car with the jack
Position the jack under the car’s frame near the flat tyre. Refer to your car’s manual for the correct lifting points. Once in place, use the jack handle to pump the jack until the car starts to lift off the ground. Make sure the jack is stable and securely supporting the weight of the car before proceeding. Be cautious not to place any body parts underneath the car while it’s lifted. The goal is to lift the car high enough that the flat tyre is completely off the ground, allowing enough space to remove and replace it.
Step 8: Take off the lug nuts
With the lug wrench, continue turning each lug nut counterclockwise until they come off completely. Place the lug nuts in a safe spot where they won’t roll away. Be sure to keep track of them, as you’ll need them later to secure the spare tyre onto the wheel hub.
Step 9: Remove the flat tyre
Once you’ve removed all the lug nuts, carefully take off the flat tyre from the wheel hub. Be cautious as you do this to avoid any sudden movements or potential injury. Place the flat tyre aside in a safe location where it won’t roll away or cause any obstructions.
Step 10: Fit the spare tyre
Now, take your spare tyre and align it with the wheel hub. Carefully lift it onto the hub, making sure it fits securely in place. Once aligned, gently push the spare tyre onto the wheel hub until it sits snugly. Make sure the holes in the tyre align with the studs on the wheel hub for proper installation. Once the spare tyre is securely mounted, it’s time to put the lug nuts back on. Start by placing each lug nut onto the studs by hand.
Step 11: Lower the car but not fully
After making sure all the lug nuts are hand-tight, slowly turn the jack handle counterclockwise to lower the car until the tyre touches the ground. But don’t let the full weight of the car rest on it yet. This helps avoid getting the jack stuck. Tighten the lug nuts with the wrench as tightly as you can.
Step 12: Finish lowering the car
Lower the car all the way to the ground and remove the jack. Once the car is securely on the ground, double-check the tightness of the lug nuts. This step makes sure that the tyre is properly secured and safe for driving.
Step 13: Put the hubcap back
After the tyre is securely in place, replace the hubcap or wheel cover. This step helps protect the lug nuts and adds a finishing touch to the wheel.
Step 14: Put everything away
Gather all the tools and equipment you used during the tyre change and stow them back in your car. This makes sure that everything is tidy and ready for future use if needed.
Step 15: Final check
Before driving, make sure your spare tyre is filled with the right amount of air. If you’re not sure or need help, give us a call. Our mobile mechanic can swap the spare tyre for you and make sure your car is safe to drive to the nearest garage for a check-up.
You now know how to change a flat tyre
After completing these 15 steps, you’re now equipped with the knowledge to change a tyre like a pro. Remember to stay safe on the roads and always keep your spare tyre properly inflated. If you have any concerns or need further assistance, don’t hesitate to reach out to us. With these skills, you can handle unexpected flat tyres with confidence.
If you’re interested in learning more, we’ve also created guides on topics like “How to Change a Car Battery” and “How to Do an Oil Change.“

